yomi@rulecomposite.com

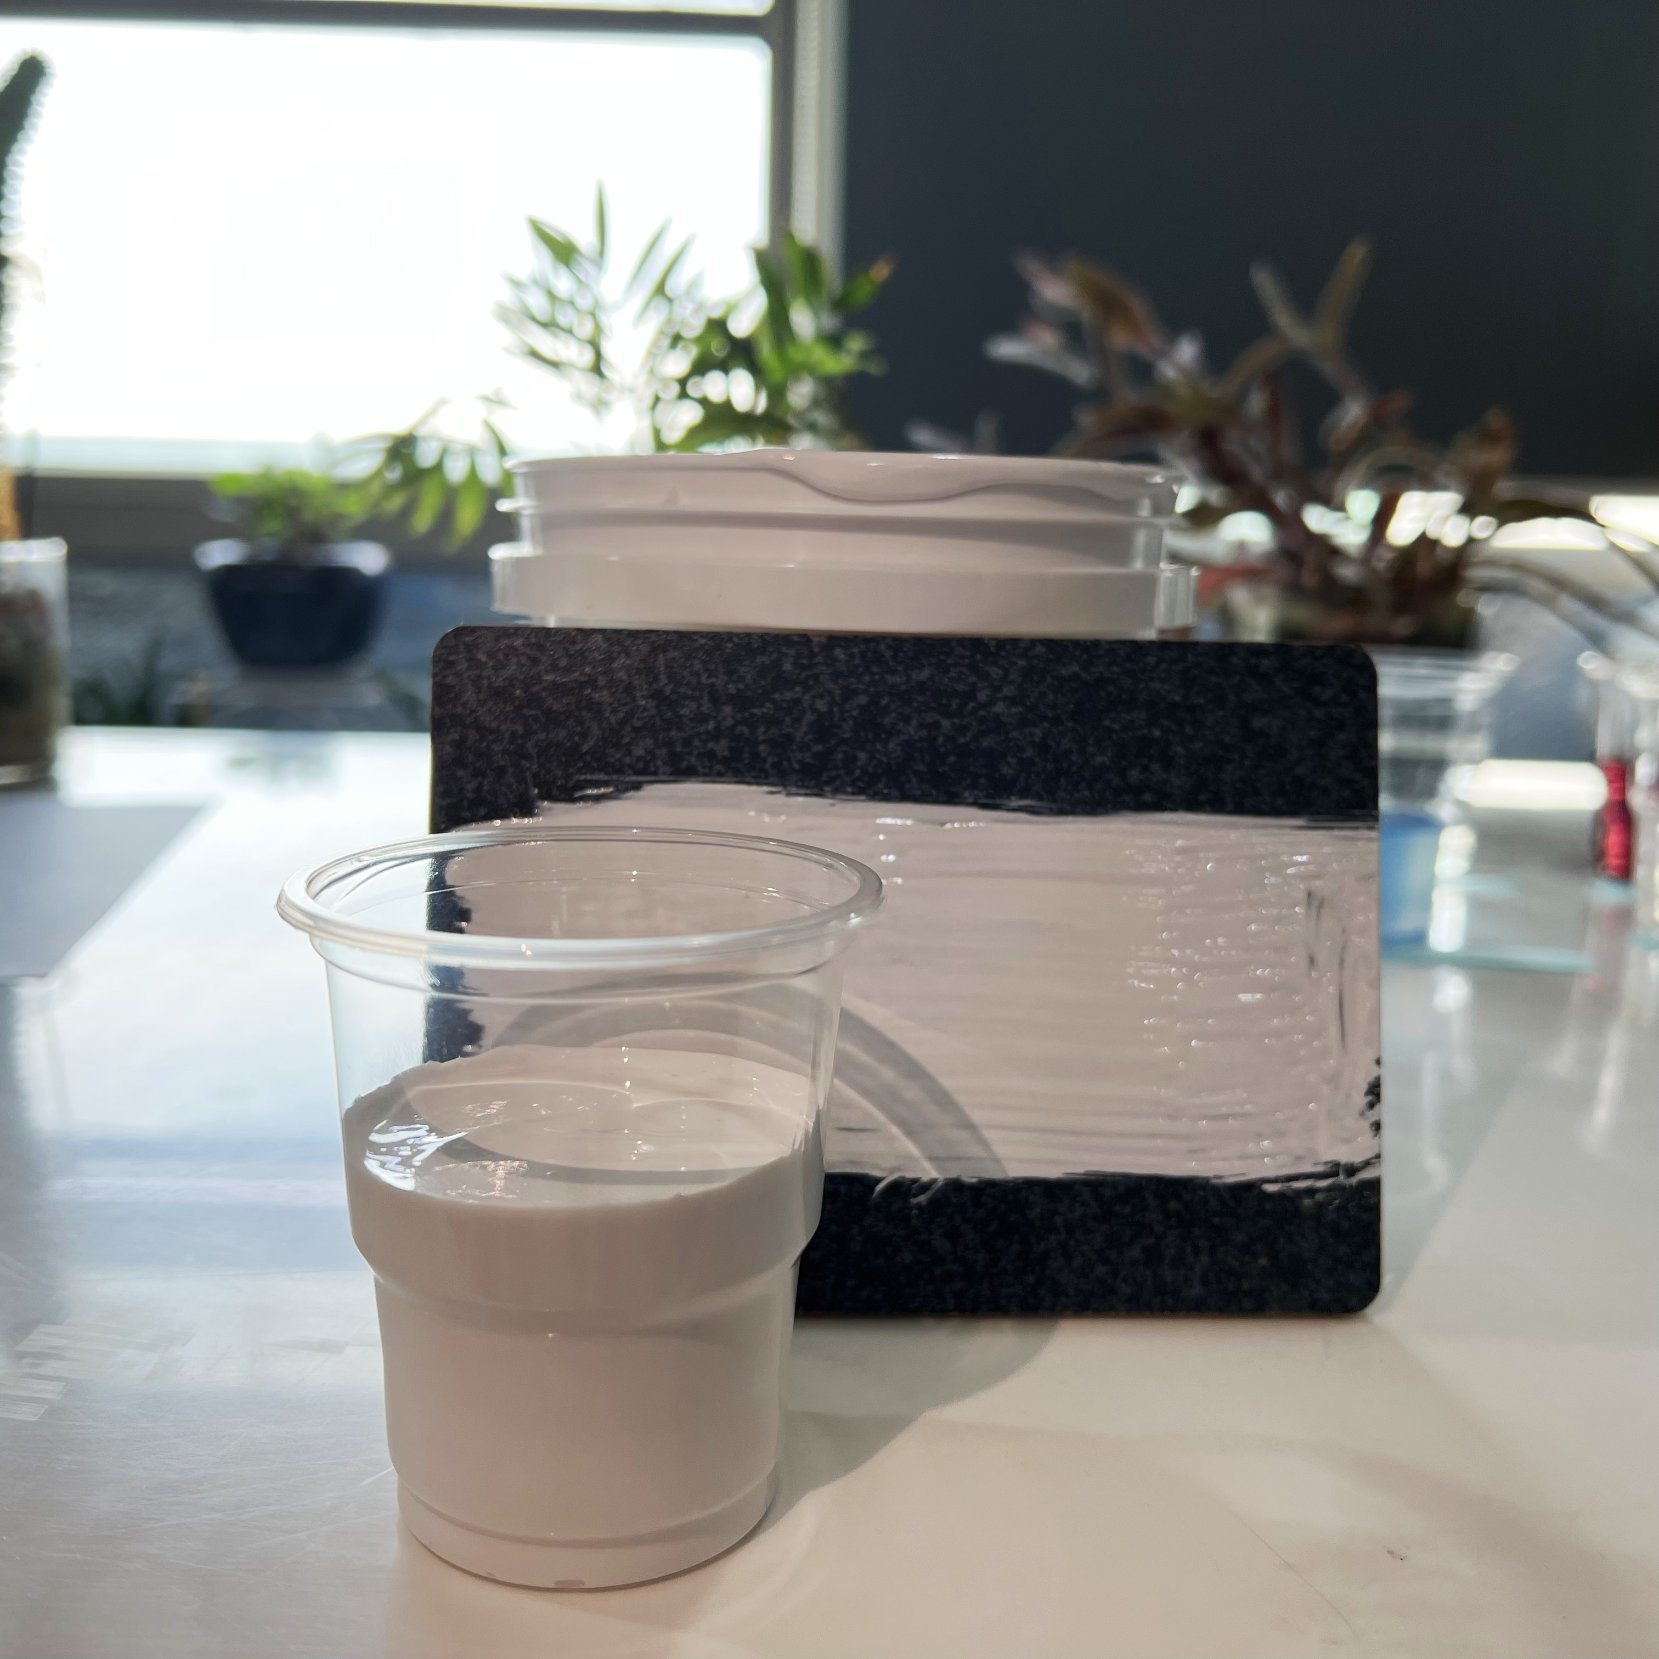


How to mix casting resin
 Mar 31, 2026|
 View:486
Casting resin, a versatile two-part thermosetting polymer, has revolutionized the world of crafting, prototyping, and industrial manufacturing. Its ability to transform from a liquid state into a durable, glass-like solid makes it ideal for creating jewelry, decorative art, functional prototypes, and even high-performance components. However, the success of any casting resin project hinges on one critical step: proper mixing. Incorrect ratios, inadequate blending, or contamination can lead to soft spots, cloudiness, or incomplete curing, ruining hours of work. This guide provides a step-by-step methodology for mixing casting resin, highlighting best practices, common pitfalls, and safety considerations to ensure professional-quality results.
Part 1: How to Mix Casting Resin—Step-by-Step Methodology
Step 1: Select the Right Casting Resin for Your Project
Before mixing, identify the type of casting resin that aligns with your project’s requirements. For instance, epoxy casting resin is favored for its clarity, UV resistance, and durability, making it ideal for jewelry, coasters, and art displays. Polyurethane casting resin, on the other hand, offers flexibility or rigidity depending on the formulation, suitable for soft robotics or industrial prototypes. UV-curable casting resin cures instantly under ultraviolet light, perfect for small, detailed work like nail art or intricate repairs. Always verify the resin’s specifications, such as cure time, viscosity, and heat resistance, to ensure compatibility with your mold and application.
Step 2: Prepare Your Workspace and Tools
Casting resin work demands precision and cleanliness. Cover surfaces with wax paper or silicone mats to prevent spills from damaging worktops. Ensure adequate ventilation—open windows or use a fan to disperse fumes, especially when working with polyester or polyurethane resins, which emit strong odors. Gather all tools beforehand: digital scale (for accurate measurements), graduated plastic mixing cups, wooden stir sticks or silicone spatulas, disposable gloves (nitrile recommended), safety goggles, and a heat gun or butane torch for bubble removal. Label mixing cups as “Part A” (resin) and “Part B” (hardener) to avoid confusion during multi-step projects.
Step 3: Measure Resin and Hardener Precisely
The golden rule of casting resin mixing is “measure by weight, not volume.” Even a 5% deviation from the manufacturer’s recommended ratio (commonly 1:1 or 2:1 by weight) can prevent full polymerization, resulting in sticky or brittle casts. Use a digital scale with 0.1g precision to weigh equal parts resin and hardener. For example, if the instructions specify a 1:1 ratio, pour 50g of resin into one cup and 50g of hardener into another. Pouring both components into a single cup and weighing the total is risky, as incomplete transfer can skew ratios.

Step 4: Combine Resin and Hardener Thoroughly
Transfer the measured resin and hardener into a clean mixing cup. Stir slowly for 3–5 minutes, scraping the sides and bottom of the cup with a wooden stick or silicone spatula to ensure uniform blending. Avoid whipping the mixture, as this introduces air bubbles that may remain trapped in the cured resin. For deep pours or intricate molds, extend the mixing time to 5–7 minutes to guarantee complete integration. If using pigments, glitter, or dried flowers, add them during the final minute of stirring to prevent over-mixing and color fading.
Step 5: Remove Trapped Air Bubbles
After mixing, bubbles often rise to the surface or become trapped in the resin. To eliminate them, pass a butane torch or heat gun quickly over the mixture’s surface, keeping the flame 2–3 inches away to avoid overheating. The heat causes bubbles to expand and pop. Alternatively, let the resin sit for 5–10 minutes in a dust-free container; many bubbles will rise naturally and can be gently blown away with a straw (for small projects). For critical applications, use a vacuum chamber to degas the resin before pouring.
Step 6: Pour the Resin into the Mold
Slowly pour the mixed resin into the silicone mold, starting from the lowest point to minimize air entrapment. Fill the mold halfway, tap it gently on the table to release trapped air, then add embellishments like glitter or charms if desired. Finally, fill the mold to the top, ensuring the resin covers all elements evenly. For multi-layered designs, cure the first layer partially (1–2 hours) before adding the next to prevent color bleeding or misalignment.
Part 2: Key Considerations When Mixing Casting Resin
Temperature and Humidity Control
Casting resin cures best at room temperature (72–78°F or 22–26°C). High humidity can cause a tacky surface or cloudiness, while cold temperatures slow curing, increasing the risk of bubbles. If working in a humid environment, use a dehumidifier or cure the resin in a controlled chamber. Conversely, in cold climates, warm the resin bottles in a bowl of warm water (not boiling) for 10 minutes before mixing to improve flow.
Pot Life and Working Time
Every casting resin has a “pot life”—the time it remains workable after mixing. Epoxy resins typically offer 20–40 minutes, while polyurethane resins may cure in 5–10 minutes. Plan your project to pour the resin before it gels. If the mixture becomes thick or stringy, discard it; attempting to pour gelled resin will result in an uneven finish.
Storage and Shelf Life
Store casting resin in a cool, dry place away from direct sunlight. Unopened bottles can last 9–12 months, but once opened, air exposure accelerates curing. Seal bottles tightly after use and consider transferring leftovers to smaller containers to minimize air contact. Always check the expiration date before starting a project.
Part 3: Conclusion—Mastering Casting Resin Mixing for Professional Results
Mixing casting resin is a blend of science and art, requiring precision, patience, and attention to detail. By selecting the right resin, preparing your workspace, measuring components accurately, blending thoroughly, and controlling environmental factors, you can achieve flawless, durable casts every time. Remember to prioritize safety—wear gloves and goggles, work in a ventilated area, and avoid inhaling fumes. Whether you’re crafting a personalized keychain, prototyping a mechanical part, or creating a luminous art piece, mastering casting resin mixing unlocks endless creative possibilities. With practice, you’ll transform liquid resin into solid masterpieces that stand the test of time.