



 yomi@rulecomposite.com




How to apply marine resin for hull patching
 Jun 11, 2026|
 View:329
You can patch your boat’s hull by using marine resin for a strong, watertight repair. Start by gathering your materials, then clean and prepare the damaged area. Mix and apply the resin, allow it to cure, and finish the surface. Rule Composite’s Marine Resin stands out for its durability and easy application, making it perfect for both beginners and experts. See how it compares to other products:
Resin Type | Strength Retention in Seawater | Durability Rating |
|---|---|---|
Rule Composite | 97% | Very High |
Epoxo 88 | 58.6% | High |
Regular Epoxy | <10% | Low |
Follow each step to ensure your repair lasts.
Key Takeaways
Gather high-quality materials like Rule Composite's Marine Resin for a strong, lasting hull repair.
Prepare the surface thoroughly by cleaning, drying, and roughening it to ensure proper adhesion.
Mix the resin and hardener accurately, following instructions to avoid sticky or weak patches.
Allow the resin to cure fully in the right conditions for a watertight and durable repair.
Always wear protective gear and handle materials safely to prevent injury and ensure a successful project.
Materials and Tools
What You Need
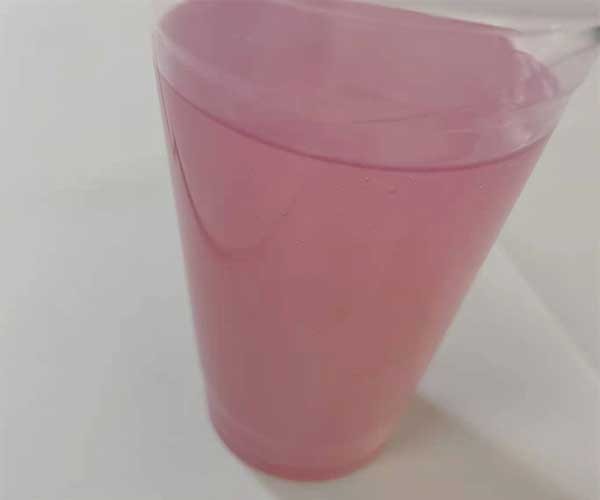
Before you start your hull patching project, you need to gather the right materials. Using high-quality products ensures your repair will last and keep your boat safe on the water. Here is a list of essential materials:
Rule Composite's Marine Resin (recommended for best results)
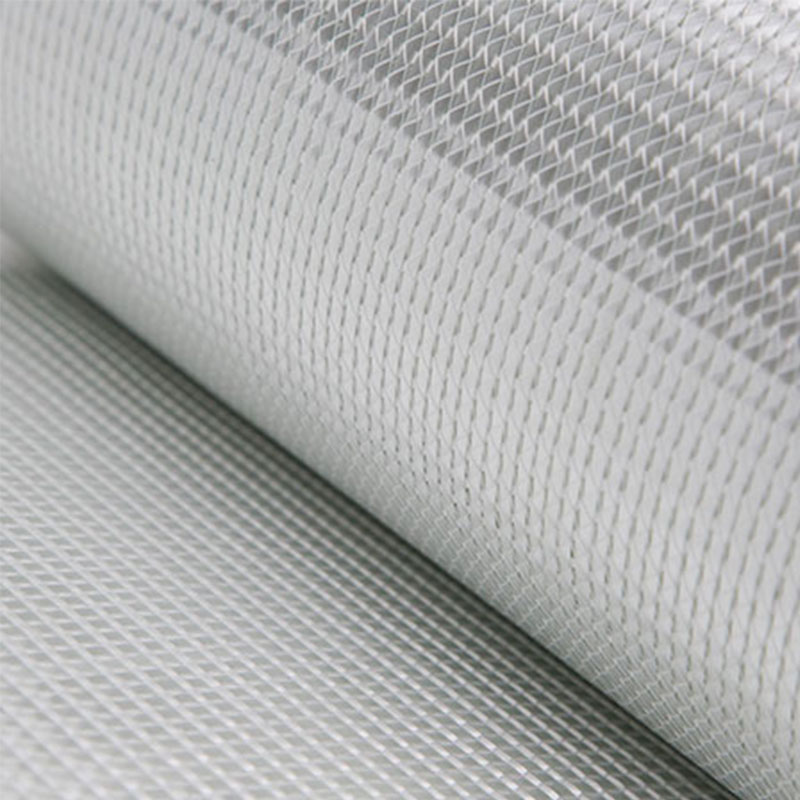
Fiberglass cloth or mat
Hardener (if not pre-mixed with the resin)
Fillers (for shaping and smoothing)
Gelcoat repair kit (for finishing the surface)
Acetone and tack cloth (for cleaning)
Sandpaper (various grits)
You should always choose marine resin designed for boat repairs. Marine resin offers strong waterproofing and excellent adhesion. It keeps its strength even after long exposure to seawater, unlike regular epoxy. This makes it the best choice for hull patching.
When it comes to repairs of this magnitude, material choice is critical. We’ve often seen repairs fail due to poor-quality materials or subpar techniques. At Total Boat Repair, we back every job with a guarantee, so we only use premium products we can stand behind.
Recommended Tools
Having the right tools makes your job easier and helps you get a smooth, professional finish. Here are the tools you should have ready:
Mixing containers and stir sticks
Application brushes or rollers
Orbital sander or grinder
Protective gloves and safety glasses
Measuring cups for accurate mixing
Store your marine resin and other materials in a cool, dry place. Keep containers sealed tight and away from direct sunlight. Check expiration dates before use. Quality materials and proper storage help you achieve a strong, watertight repair that lasts.
How to Use Marine Resin

Surface Prep
You need to prepare the hull before you use marine resin. Start by cleaning the damaged area with soap and water. Rinse and let it dry. Next, wipe the surface with acetone to remove grease and grime. Use the "two-rag wipe-down" method for the best results. Repeat this cleaning step two or three times. Do not touch the cleaned area with your bare hands. This keeps the surface free from oils.
Remove any loose or damaged fiberglass with an orbital sander or angle grinder. Create a bevel, or tapered edge, around the damaged spot. This helps the patch bond well. Sand the area with 80-grit sandpaper to make the surface rough. Wipe it again with acetone and a tack cloth to remove dust. A clean, rough surface helps the marine resin stick and last.
Tip: Take your time with prep. Good surface prep means a stronger, longer-lasting repair.
Mixing Marine Resin
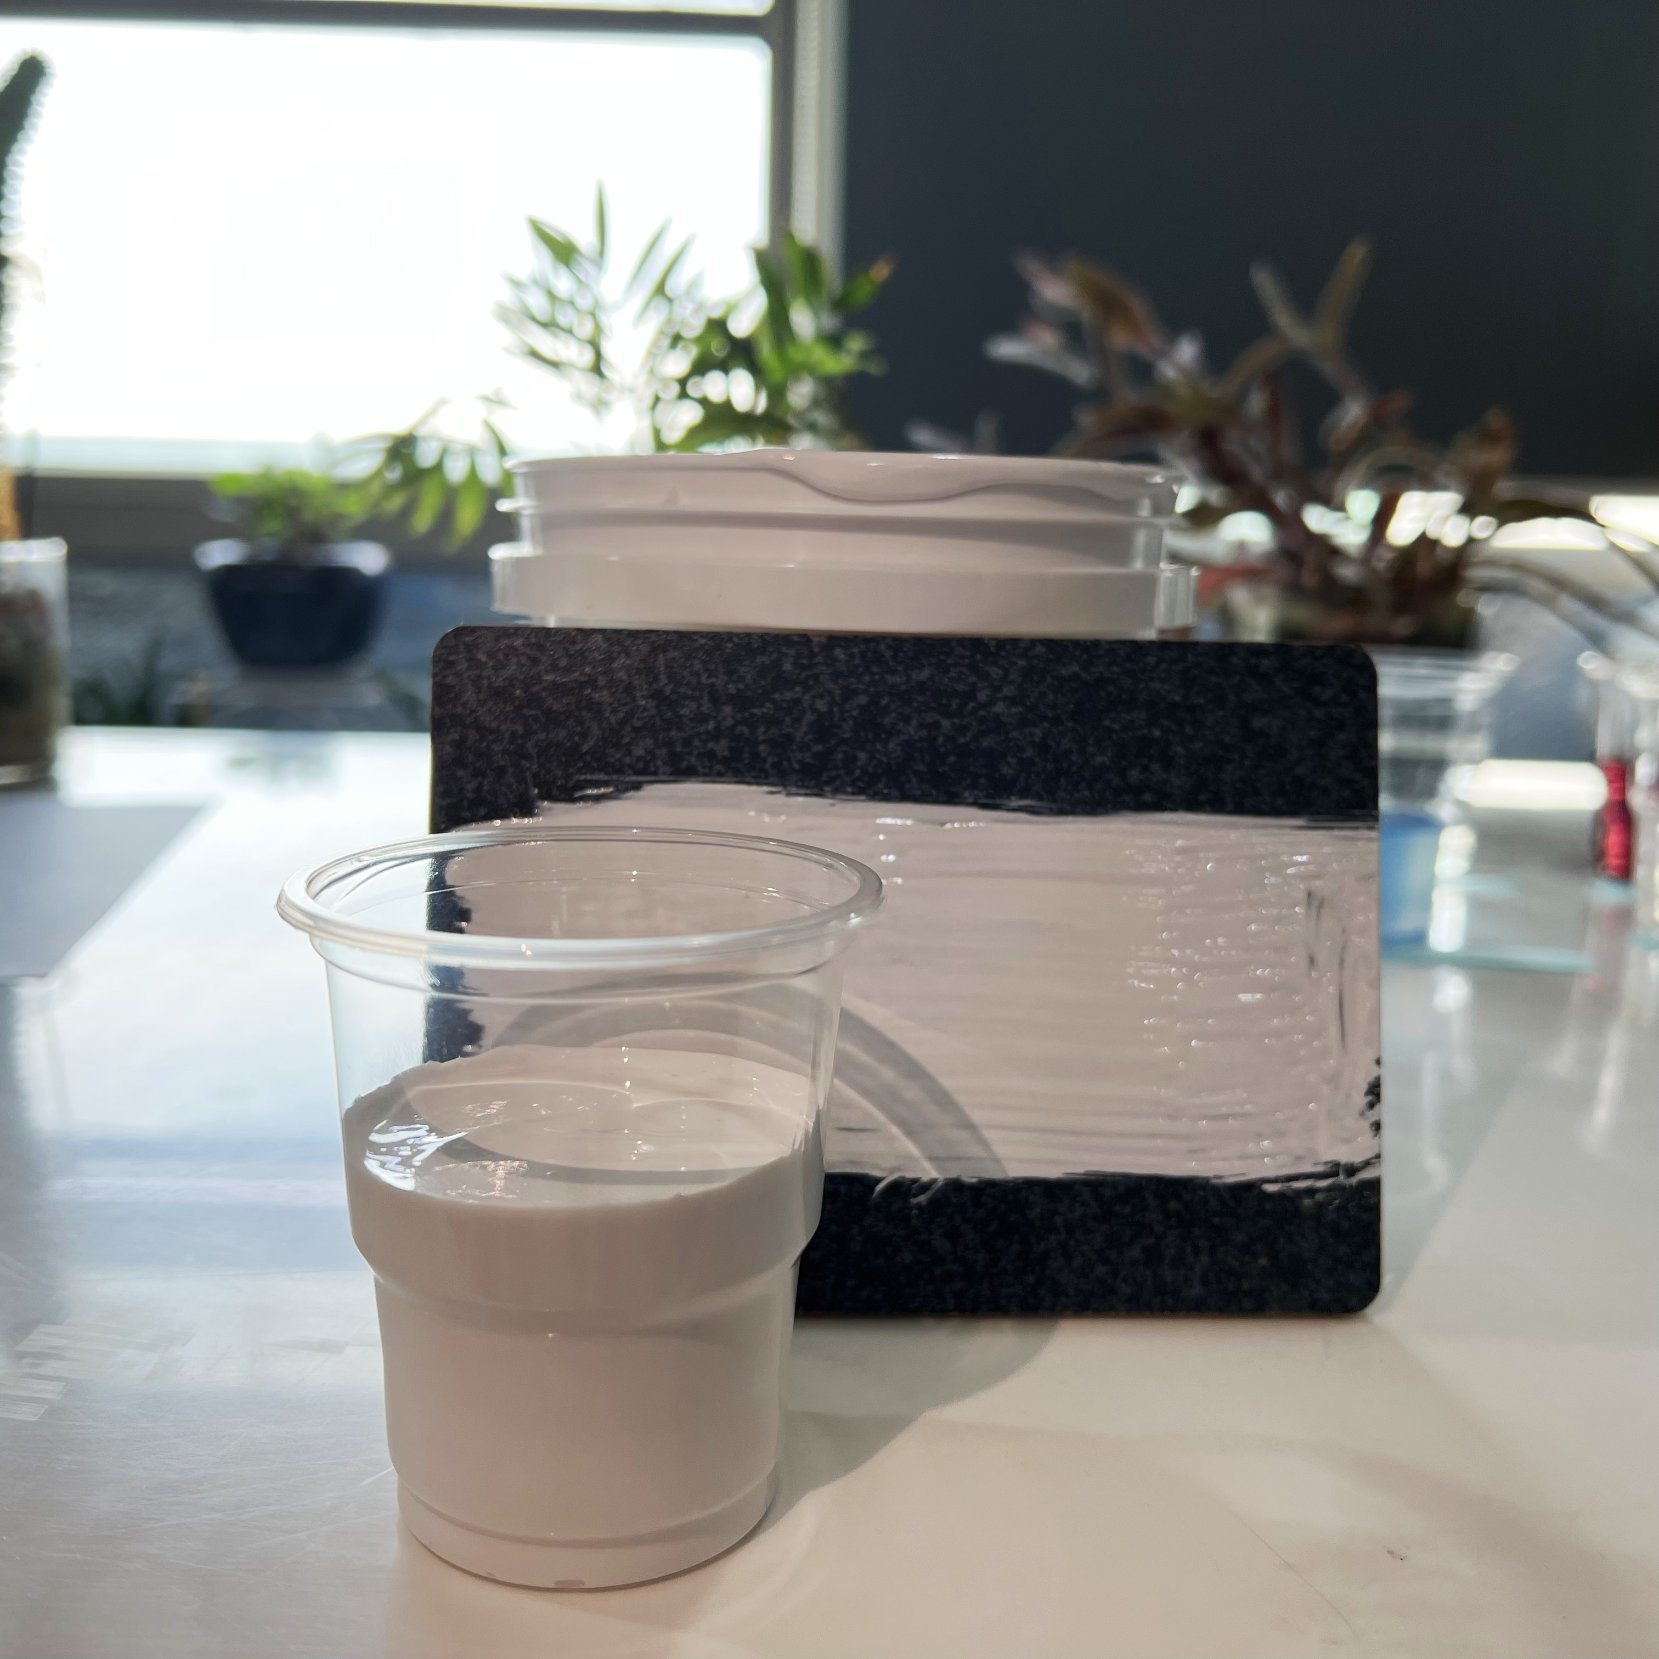
Read the instructions on Rule Composite’s Marine Resin. Measure the resin and hardener carefully. Use clean mixing containers and stir sticks. Pour the resin first, then add the hardener. Mix slowly and scrape the sides and bottom of the container. Stir until the color looks even. Do not mix too fast, or you will get bubbles.
Rule Composite’s Marine Resin is easy to mix. It flows well and does not clump. This makes it a good choice for both beginners and pros. Only mix what you can use in 15–20 minutes. The resin will start to set after that.
Applying Marine Resin
Cut fiberglass cloth or mat to fit the repair area. Lay the dry fiberglass over the damaged spot. Use a brush or roller to apply a thin layer of mixed marine resin to the hull. Press the fiberglass into the wet resin. Add more resin on top until the cloth looks clear and fully wet. Smooth out any air bubbles with the brush.
For larger repairs, use several layers of fiberglass and resin. Let each layer soak in before adding the next. Work quickly, but do not rush. Even coverage is important for a strong patch. Rule Composite’s Marine Resin spreads easily and fills gaps well. This helps you get a smooth finish.
Note: Wear gloves and safety glasses when working with resin and fiberglass.
Curing and Finishing
Let the marine resin cure without moving or touching it. Curing time depends on temperature and humidity. At 70–85°F, the resin may cure in 6–12 hours with a fast hardener. Slow hardeners can take 24–48 hours. Full strength comes after 5–7 days. High humidity can slow curing, while low humidity may also affect the process. The best humidity range is 40–60%.
After curing, sand the patch smooth with fine sandpaper. Clean off dust with a tack cloth. Apply a gelcoat repair kit for a watertight seal. Let the gelcoat cure, then polish the area for a glossy finish. You can use a rubbing compound and buffer for extra shine. Finish with a marine wax or sealant to protect your work.
Remember: Patience during curing and finishing leads to a repair that lasts.
Safety Tips
Protective Gear
You need to protect yourself when working with marine resin. The chemicals and fiberglass can irritate your skin, eyes, and lungs. Always wear the right gear before you start your repair.
Protective Clothing: Put on a long-sleeved shirt, long pants, and gloves. Disposable coveralls work well for bigger jobs.
Respirator or Dust Mask: Use a respirator with filters for resin fumes and fiberglass dust. A dust mask helps for smaller projects.
Goggles or Safety Glasses: Choose chemical-resistant goggles to keep your eyes safe.
Ventilation or Exhaust Fans: Set up fans or open windows to keep air moving and remove fumes.
Ear Protection (Optional): Wear earplugs if you use loud power tools.
Tip: Never skip protective gear. Even a small amount of resin or fiberglass can cause irritation or injury.
Safe Handling
You must handle marine resin with care. Read the instructions on Rule Composite’s Marine Resin before you begin. Follow all safety guidelines from the manufacturer.
Work in a well-ventilated area. Fresh air helps keep fumes away from your lungs.
Keep food and drinks away from your workspace. Resin can contaminate surfaces.
Clean up spills right away. Use acetone for resin spills, but wear gloves and avoid skin contact.
Store resin and hardener in sealed containers. Keep them away from heat and sunlight.
Dispose of waste properly. Landfill disposal is common, but not sustainable. Mechanical recycling reduces landfill volume, but can create microplastics. Chemical recycling recovers glass fibers, but costs more and has environmental risks.
Note: Always wash your hands after handling resin. Never touch your face or eyes during the repair.
You protect yourself and the environment by following these safety tips. Proper gear and careful handling help you finish your repair safely and confidently.
Common Mistakes
When you patch a hull with marine resin, you want a repair that lasts. Many people make simple mistakes that lead to weak or leaky patches. You can avoid these problems by learning what to watch out for.
Prep Errors
You must prepare the surface well before you start. Skipping or rushing this step is the most common cause of peeling and early failure. Here are mistakes you should avoid:
Not cleaning the area. Dirt, oil, or old paint will stop the resin from sticking.
Leaving the surface wet. Moisture can ruin the bond and cause the patch to fail.
Forgetting to sand or roughen the area. Smooth surfaces do not let the resin grip well.
Touching the cleaned area with bare hands. Oils from your skin can cause poor adhesion.
Tip: Always clean, dry, and roughen the surface before you apply resin. Take your time with prep for the best results.
Mixing Issues
Mixing resin the right way is very important. If you mix it wrong, the patch can stay sticky or never get strong. Watch out for these common mistakes:
Mixing large batches. Big batches can heat up fast and harden before you finish.
Not measuring the resin and hardener correctly. The wrong ratio can stop the resin from curing.
Using dirty or unmarked containers. This can lead to wrong amounts and weak resin.
Mixing too fast or not enough. You need to stir slowly and scrape the sides and bottom for at least two minutes.
You should always check the pot life. This is the time you have before the resin starts to harden. Hot days and big batches make pot life shorter.
Curing Problems
Curing is when the resin hardens and gets strong. Many things can go wrong if you do not pay attention:
Working in temperatures below 60°F. The resin may not cure fully and stay soft.
Working in temperatures above 90°F. The resin can harden too fast and become unworkable.
High humidity. This can cause a sticky layer called "amine blush" on the surface.
Not sealing the patch well. Water can get in and weaken your repair.
Note: Always measure resin and hardener exactly, use the right tools, and let the patch cure in the right conditions. Patience gives you a watertight, strong repair.
You can achieve a strong, watertight hull patch by following each step carefully. Using Rule Composite's Marine Resin gives you:
Superior adhesion and strength
Excellent water resistance
Minimal shrinkage for lasting repairs
Always follow instructions and take your time. If you see cracks, soft spots, or damage near high-stress areas, consult a professional for inspection and repair.
Quality materials and careful work help your boat stay safe and reliable.
FAQ
How long does Rule Composite’s Marine Resin take to cure?
Curing time depends on temperature and humidity. At 70–85°F, the resin usually cures in 6–12 hours. Full strength comes after 5–7 days. Always check the product label for exact times.
Can I use Rule Composite’s Marine Resin for underwater repairs?
You should only apply the resin to a dry surface. Let the patch cure completely before putting your boat back in the water. This ensures a strong, watertight repair.
What should I do if the resin stays sticky?
Sticky resin often means you mixed the wrong ratio or worked in poor conditions. Sand off the sticky layer. Clean the area. Mix a new batch carefully and reapply.
Do I need to use fiberglass cloth with marine resin?
Yes, you should use fiberglass cloth or mat for most hull patches. The cloth adds strength and helps the resin bond well. For small chips, resin alone may work, but cloth is best for larger repairs.