


 yomi@rulecomposite.com


how to make marble resin coasters
 May 12, 2025|
 View:3226
Creating marble resin coasters is a rewarding DIY project that combines creativity with functionality. These elegant accessories protect surfaces while adding a touch of sophistication to any home. With a few basic materials and some patience, you can craft unique coasters that mimic the look of natural marble. Below is a detailed guide to help you achieve stunning results.
Materials You’ll Need
Before diving into the process, gather the following supplies:
Epoxy resin and hardener (choose a food-safe option if using for drinks).
Silicone coaster molds (round, square, or hexagonal shapes work well).
Acrylic paints (white, black, gray, or metallic tones for marbling effects).
Stirring sticks and mixing cups.
Plastic drop cloth or disposable gloves (to protect your workspace).
Heat gun or propane torch (to remove air bubbles).
Pigment paste or alcohol inks (optional, for deeper color saturation).
Sealant or clear resin coat (to add a glossy finish).
Step 1: Prepare Your Workspace
Epoxy resin can be messy, so start by covering your work area with a plastic drop cloth. Wear gloves to avoid skin contact, and ensure the room is well-ventilated. Resin cures best in temperatures between 70–75°F (21–24°C), so avoid drafty or humid spaces.
Step 2: Mix the Resin
Follow the manufacturer’s instructions to measure equal parts resin and hardener. Pour them into a mixing cup and stir slowly for 3–5 minutes until the mixture is clear and streak-free. Avoid over-stirring, as this can introduce air bubbles.
Pro tip: For thicker coasters, pour the resin in two layers. The first layer will act as a base, while the second allows you to add marbling details.
Step 3: Add Color for the Marble Effect
Divide the mixed resin into smaller cups if using multiple colors. Add a few drops of white acrylic paint to one cup (for the base “marble” veins) and black or gray to another. For a metallic sheen, mix in gold or silver pigment paste.
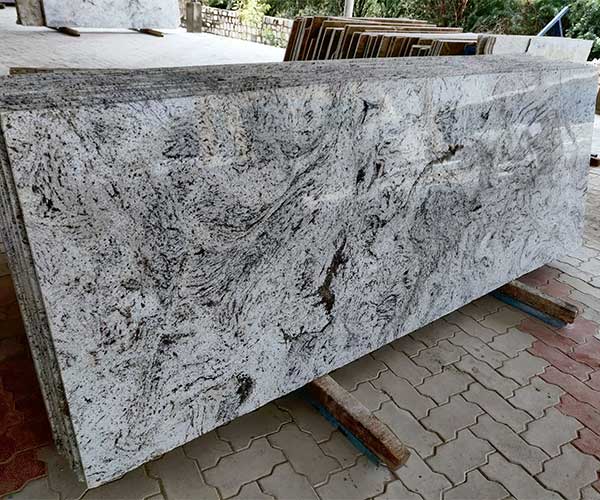
Technique: Pour the colored resin into the molds in random swirls, alternating between light and dark shades. Use a toothpick or skewer to gently drag through the colors, creating veining patterns reminiscent of marble resin.
Step 4: Eliminate Air Bubbles
Bubbles trapped in the resin can ruin the smooth finish. Use a heat gun or propane torch to gently pass over the surface, holding the tool 6–8 inches away. The heat will cause bubbles to rise and pop. Repeat this step after adding any additional layers.
Step 5: Let the Resin Cure
Cover the molds with a box or plastic container to slow dust settlement. Let the resin cure for 24–72 hours, depending on the brand’s instructions. Avoid touching or moving the molds during this time.
Step 6: Demold and Sand (If Needed)
Once fully cured, gently twist the molds to release the coasters. If the edges are rough, use sandpaper (starting with 220-grit and progressing to 400-grit) to smooth them. Wipe away dust with a damp cloth.
Step 7: Apply a Final Coat (Optional)
For extra durability and shine, pour a thin layer of clear resin over the cured coasters or apply a spray sealant. This step enhances the marble resin aesthetic and protects against water damage.
Conclusion
Crafting marble resin coasters is a fun way to experiment with color and texture while producing functional art. The key to success lies in patience—allowing each layer to cure properly and refining your marbling technique over time. Whether you gift them or keep them for yourself, these coasters add a luxurious touch to any tabletop. With practice, you’ll master the art of creating faux marble resin designs that rival natural stone. So gather your supplies, embrace your creativity, and enjoy the process of transforming liquid resin into timeless home decor!