



 yomi@rulecomposite.com




how to make a mould for resin casting
 Apr 28, 2025|
 View:2612
Resin casting is a versatile crafting technique that allows creators to produce intricate, durable objects ranging from jewelry to functional art. At the heart of this process lies the mould—a critical tool that determines the shape, texture, and precision of the final cast. This guide explores the step-by-step process of crafting a mould tailored for resin casting, covering material selection, design considerations, and execution techniques.
Understanding Mould Types for Resin Casting
Resin casting moulds fall into two primary categories: rigid moulds (e.g., metal, hard plastic) and flexible moulds (e.g., silicone, rubber). Flexible moulds, particularly silicone, dominate resin casting due to their ability to release cured resin without damage, making them ideal for complex geometries or undercuts. For example, silicone moulds are widely used in jewelry making to replicate delicate patterns or 3D designs.
When selecting a mould material, consider:
Heat resistance: Resin casting resin generates heat during curing; moulds must withstand temperatures up to 60°C (140°F) without deformation.
Tear strength: Flexible moulds should resist tearing when de-moulding intricate parts.
Reusability: High-grade silicone moulds can endure 50+ casts, while cheaper alternatives may degrade after 10 uses.
Designing the Mould: Key Considerations
The design phase directly impacts the success of casting resin projects. Follow these principles:
Simplify undercuts: Complex shapes with hidden cavities may require multi-part moulds or sacrificial materials (e.g., clay) to facilitate de-moulding.
Optimize wall thickness: Thick sections (e.g., 5mm+) reduce shrinkage but increase curing time and heat buildup.
Include draft angles: Taper walls by 1–2° to ease resin removal.
For example, a ring mould might incorporate a conical cavity with a 1.5° draft angle to prevent the cured resin from sticking.
Material Selection: Silicone vs. Alternative Options
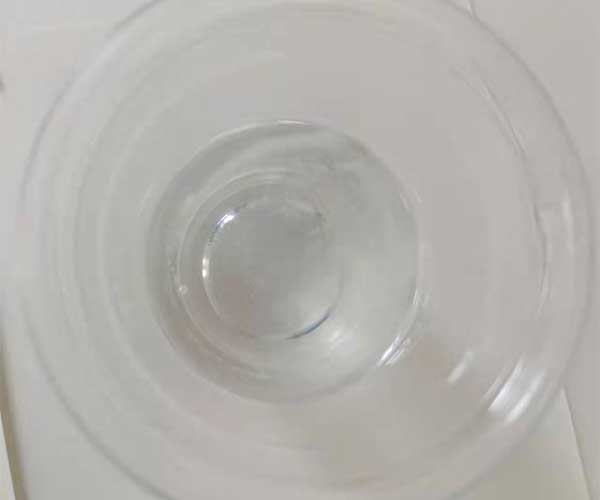
Silicone rubber is the gold standard for resin casting moulds due to its flexibility, chemical resistance, and ease of use. Key factors to evaluate:
Shore hardness: Softer silicone (Shore A 10–20) suits detailed designs, while harder variants (Shore A 30–40) are better for flat or rigid objects.
Pot life vs. cure time: Fast-curing silicones (e.g., 15-minute working time) accelerate production but reduce working flexibility.
Additives: Silicone thickeners or fillers can adjust viscosity for vertical surfaces or deep cavities.
Alternative materials like polyurethane rubber or latex offer cost savings but often require mold release agents and may lack the durability of silicone.
Step-by-Step Mould-Making Process
Step 1: Prepare the Master Model
The master model—the object to be replicated—must be flawless. Use 3D-printed parts, sculpted clay, or milled prototypes. Apply a sealant (e.g., acrylic varnish) to porous models to prevent silicone adhesion.
Step 2: Build the Mould Box
Construct a leak-proof container around the model using acrylic, wood, or Lego bricks. Ensure 1–2 cm clearance on all sides to accommodate silicone flow.
Step 3: Mix and Pour Silicone
Weigh components: Use a digital scale to mix silicone and catalyst at the manufacturer’s specified ratio (e.g., 10:1 by weight).
Degas: Vacuum chambers or pressure pots eliminate air bubbles; alternatively, tap the container vigorously for 5 minutes.
Pour slowly: Start at the lowest point of the mould box to minimize trapped air.
Step 4: Cure and Demould
Allow silicone to cure for 12–24 hours. Once hardened, carefully extract the master model. Trim flash with a scalpel and inspect for defects.
Troubleshooting Common Issues
Bubbles in the cast: Pre-heat casting resin to reduce viscosity or use a pressure pot to compress air pockets.
Sticking: Apply a mold release agent (e.g., petroleum jelly or commercial sprays) before pouring resin.
Uneven curing: Maintain a stable room temperature (20–25°C/68–77°F) and avoid drafts.
Conclusion: Elevating Your Resin Casting Game
Mastering mould-making for resin casting unlocks limitless creative possibilities. By selecting the right materials, refining designs, and adhering to best practices, even beginners can achieve professional results. Whether crafting intricate jewelry, architectural models, or functional prototypes, a well-executed mould ensures consistency, reduces waste, and empowers creators to push the boundaries of resin artistry. Experimentation is key—try layering colors, embedding objects, or combining textures to transform casting resin into truly unique masterpieces.