

 yomi@rulecomposite.com



How long does vinyl ester resin take to fully cure
 Aug 27, 2026|
 View:430
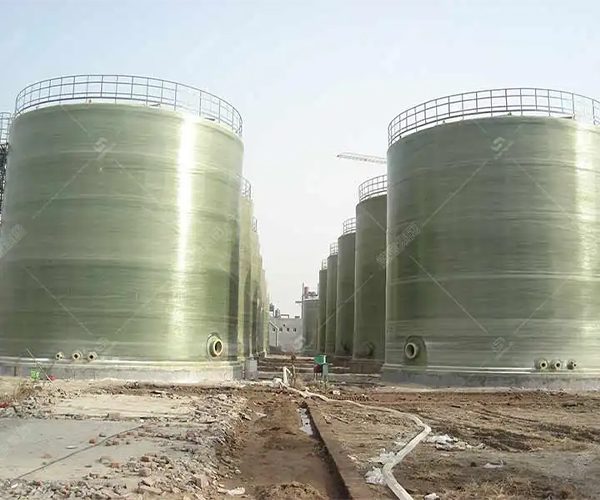
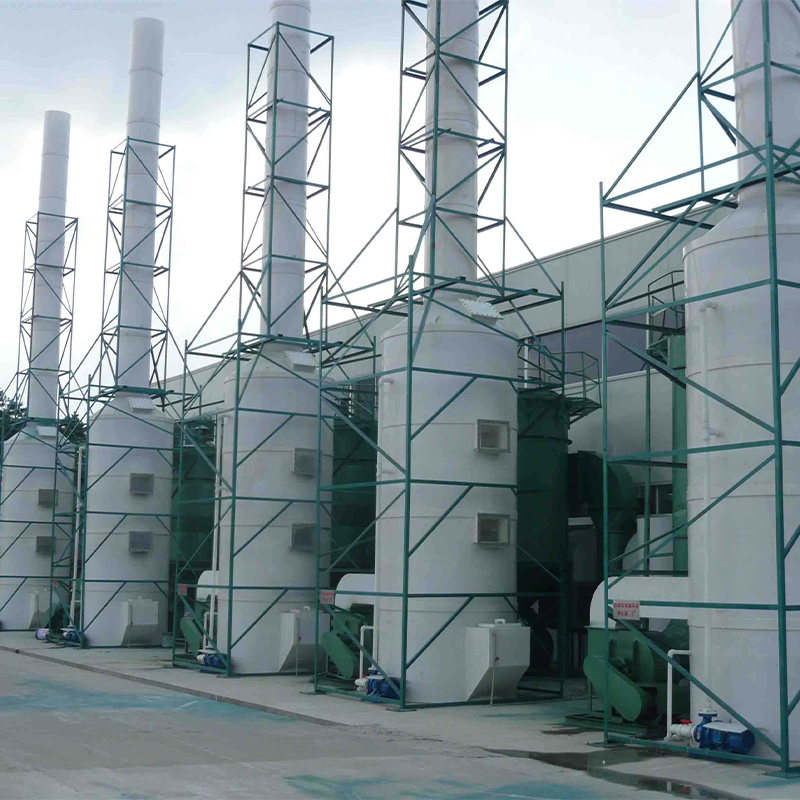
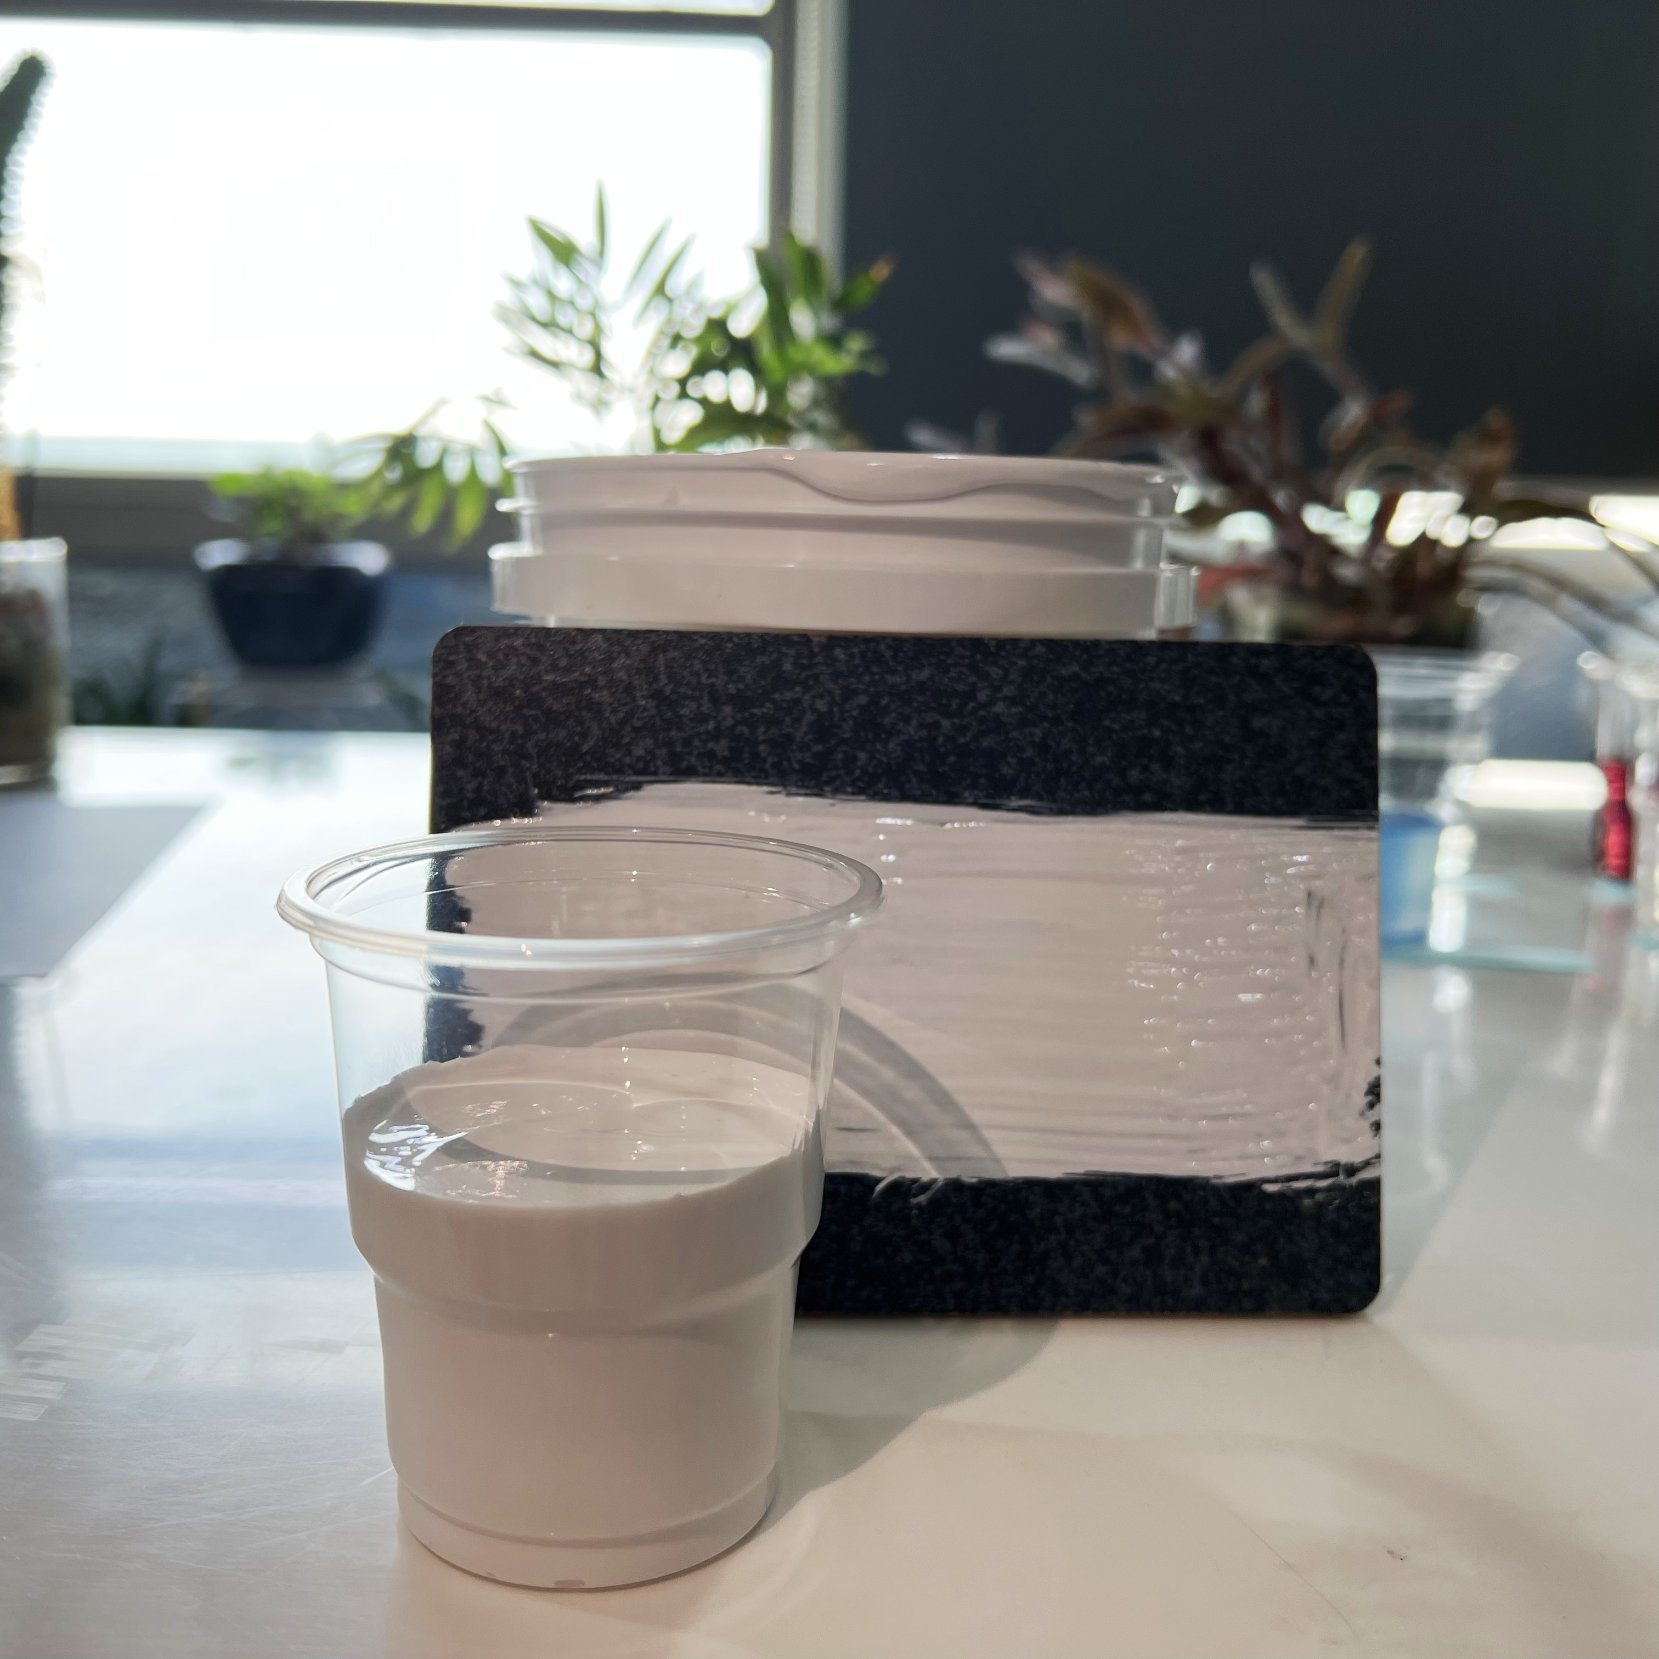
Vinyl ester resin typically takes 24 to 48 hours to fully cure at room temperature. This timeline can shift based on temperature, humidity, and how you mix the resin. Imagine you're repairing a boat hull or fabricating a wind turbine blade. Knowing the exact cure time is critical for project success. Rule Composite's Vinyl Ester Resin offers rapid curing through free-radical polymerization. This gives you a fast gel time, making it efficient for time-sensitive projects. The resin's high performance ensures durability in demanding applications. It works well for boat hulls, wind turbine blades, and chemical storage tanks. Understanding these factors helps you achieve a strong, durable cure.
Key Takeaways
Vinyl ester resin fully cures in 24 to 48 hours at room temperature. Wait the full time for maximum strength.
Control temperature and humidity. Keep your workspace between 65°F and 85°F with humidity below 60 percent.
Measure catalyst accurately to 1.25 to 1.75 percent by volume. Mix thoroughly for even curing.
Test the cure with a thumbnail or acetone wipe before using the part. Use a Barcol hardness tester for critical projects.
Vinyl Ester Resin Curing Stages
Understanding how vinyl ester resin cures helps you plan your project timeline. The process unfolds in three distinct phases. Each phase has a specific purpose. Knowing what happens during each stage prevents you from rushing the job or handling the part too early.
The Gel, Cure, and Post-Cure Phases
The gel phase begins immediately after you mix in the catalyst. At room temperature, this stage lasts about 10 to 20 minutes. During this time, the resin transitions from a liquid to a thick, jelly-like state. You can still work with it, but it becomes increasingly difficult to move. This window matters for wetting out fiberglass or applying the resin to your mold surface.
The cure phase follows the gel stage. Over several hours, the material hardens into a solid. Chemical cross-linking occurs throughout the resin. The surface becomes tack-free, and the part gains enough strength for demolding. However, this hardness only represents partial curing. The resin continues to build internal strength.
The post-cure phase completes the process. Over the next 24 to 48 hours, the material reaches its maximum mechanical and chemical properties. This stage develops the full tensile strength and corrosion resistance that makes vinyl ester resin valuable for demanding applications. Rule Composite's Vinyl Ester Resin cures through free-radical polymerization. This mechanism explains why the gel time stays relatively short compared to epoxy systems.
Why 24 to 48 Hours Is the Standard
You might wonder why manufacturers quote a 24 to 48-hour window. The answer lies in the chemistry. Full cure means the resin has achieved its peak performance characteristics. Surface hardness alone does not indicate readiness. The internal polymer network needs time to complete its formation.
During the first few hours, the resin reaches perhaps 70 to 80 percent of its final strength. The remaining percentage develops gradually. Chemical resistance improves as the post-cure phase progresses. A part that feels hard to the touch may still absorb solvents or weaken under stress.
Waiting the full 48 hours ensures the material performs as designed. For structural applications like boat hulls or wind turbine blades, this patience prevents premature failure. You can sand and bond the part after two to three days. Waiting longer than a week makes the surface too hard for secondary bonding. The 24 to 48-hour standard balances production efficiency with material integrity.
Key Factors Affecting Cure Time
Several variables influence how quickly your vinyl ester resin reaches full cure. Understanding these factors helps you plan your work schedule and avoid costly mistakes. You can control most of them with careful preparation.
Temperature and Humidity Impact
Temperature plays the largest role in cure speed. Warm conditions accelerate the chemical reaction. When your workspace stays above 80°F, you might see full cure in just 12 to 24 hours. The extra heat energizes the molecules, helping them link together faster. Many professionals schedule summer projects knowing they can demold parts sooner.
Cold conditions slow everything down. When temperatures drop below 60°F, the reaction nearly stalls. You might wait longer than 48 hours for a complete cure. The resin becomes sluggish, and the final strength may suffer. You can warm your workspace with a space heater or heat lamp to keep things moving. Just avoid overheating, which can cause warping or excessive shrinkage.
Humidity also matters more than most people realize. High moisture levels in the air interfere with the curing process. When humidity exceeds 70 percent, water molecules compete with the resin's reactive sites. This competition leaves the material rubbery and under-cured. The surface might feel tacky even after several days. You should keep your work area below 60 percent humidity for reliable results. A dehumidifier works well in damp basements or coastal workshops.
Catalyst Amount and Resin Thickness
The catalyst amount you add directly controls the reaction rate. Most vinyl ester resin systems require 1 to 2 percent catalyst by weight. Measuring precisely matters. Too little catalyst leaves the resin tacky and weak. The polymerization never completes, leaving soft spots throughout the part. You might wait days and still find the surface sticky.
Too much catalyst creates a different problem. The reaction accelerates dramatically, generating excessive heat. This "flash" cure can make the resin brittle and prone to cracking. The rapid temperature spike also stresses the material internally. You end up with a part that looks fine but fails under load. Always use a digital scale for accurate measurements. Eyeballing the amount leads to inconsistent results.
Resin thickness affects cure time through exothermic heat. Thicker layers generate more heat as they cure. This warmth speeds up the reaction, sometimes significantly. A thick pour might cure in half the time of a thin coating. However, this speed comes with risks. Excessive heat buildup can cause warping, especially on flat panels. The center of a thick section might cure faster than the edges, creating internal stress.
You should apply vinyl ester resin in thin layers, ideally 1/8 inch or less. This approach prevents dangerous heat buildup while ensuring even curing throughout the part. For thicker laminates, apply multiple layers with proper cure time between each. This technique gives you better control and produces stronger final parts. The trade-off in time pays off in durability and performance.
Testing Vinyl Ester Resin for Full Cure

You cannot rely on the clock alone to tell you when your vinyl ester resin is fully cured. Temperature, humidity, and catalyst variations can shift the timeline. Testing the part before putting it into service prevents failures. It also saves you time and money in the long run. Several simple methods let you verify the cure state. These tests range from basic physical checks to precise industrial measurements.
Physical Tests for Surface Hardness
The thumbnail test offers the quickest way to check cure progress. Press your fingernail firmly into the resin surface. If the nail leaves a visible mark or indentation, the resin needs more time. A fully cured surface resists this pressure without any deformation. You should test multiple spots on the part. Different areas may cure at different rates, especially on thick laminates or complex shapes.
Do not rush this test. A surface that feels hard to the touch can still be soft underneath. The resin needs full cross-linking throughout its thickness. Chemical resistance and mechanical strength depend on complete curing, not just surface hardness.
Plan your further processing around the cure state. You can safely sand or bond to the part after two to three days. The resin has reached sufficient strength by then. Do not wait longer than a week. The surface continues to harden over time. By day seven, the resin becomes too hard for effective sanding or secondary bonding. You will struggle to get good adhesion. The window for optimal processing starts around day two and closes by day seven.
Solvent Resistance and Hardness Testing
The acetone wipe test gives you a more reliable indicator of cure completeness. Apply a small amount of acetone to a clean rag. Wipe it onto an inconspicuous area of the part. Watch the surface for any reaction. If the resin softens, becomes tacky, or feels sticky, curing is still incomplete. A fully cured surface remains unchanged. The acetone evaporates without affecting the material.
This test works because uncured resin dissolves in acetone. The solvent attacks any remaining reactive sites. A complete cure leaves no vulnerable points for the acetone to attack. You can perform this test on a scrap piece or a hidden area of your finished part. Test the part in several locations. The edges may cure faster than the center. Thick sections need more time than thin layers. You cannot assume uniform curing across the entire surface.
Industrial applications demand precision more than rough checks. Chemical storage tanks and marine structures require exact cure verification. The Barcol hardness tester provides this accuracy. This handheld device measures the indentation hardness of the cured resin. You press the instrument's tip against the surface and read the value.
Manufacturers establish minimum Barcol hardness specifications (typically 40–60 HB for polyester/fibreglass composites) that correlate with adequate cure for structural applications.
Different vinyl ester resin grades show different hardness values. Here are typical Barcol readings for cured castings of common resin types:
Resin Grade | Resin Type | Barcol Hardness |
|---|---|---|
VER878-400 | Novolac Epoxy Vinyl Ester | 43 |
VER878H-400 | Novolac Epoxy Vinyl Ester | 52 |
VER858-40 | Brominated Bisphenol-A Epoxy Vinyl Ester | 40 |
VER898 | BPA Epoxy Vinyl Ester (Elastomer modified) | 32 |
VER818-45 | BPA Epoxy Vinyl Ester | 34 |
These values range from 32 to 52 Barcol. You should check your resin manufacturer's specification for the target value. A reading below the expected range indicates incomplete curing. You can purchase a Barcol impressor from composite supply stores. The test takes only seconds per location. Use it on multiple spots for a complete picture of the cure state. Record your readings. Consistent numbers across the part mean even curing. Wide variations suggest problem areas.
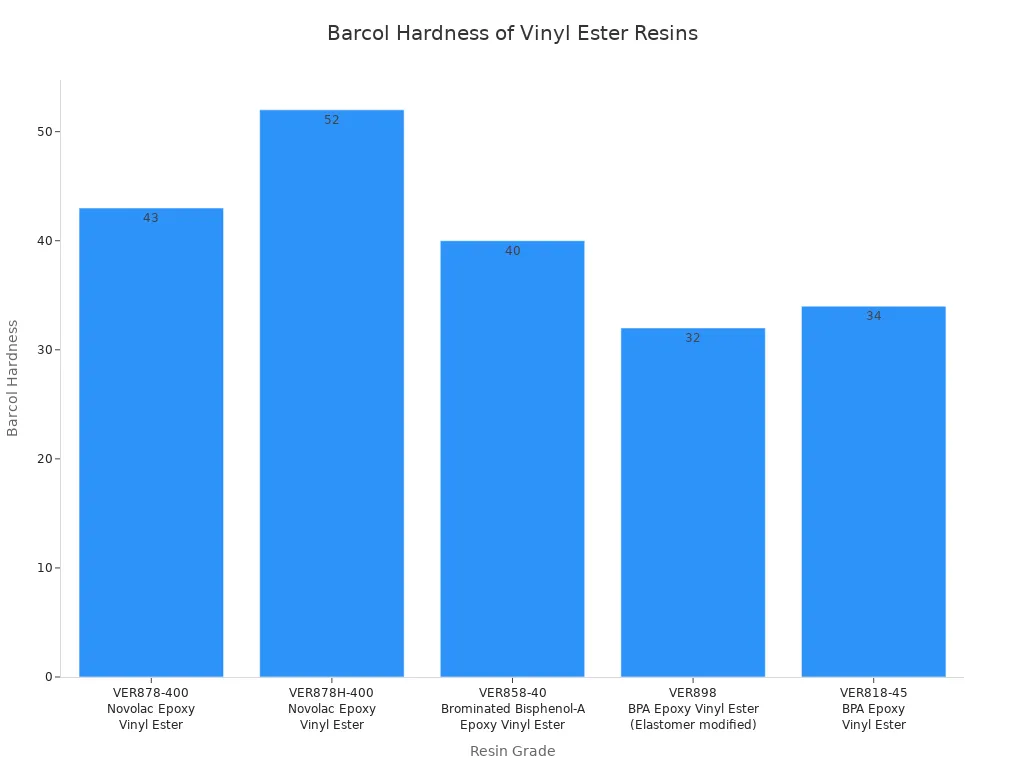
The chart above shows the variation across different grades. Each formulation has unique properties. Your project's requirements determine the correct grade and its expected hardness.
Combine these testing methods for reliable results. Start with the thumbnail test for a quick check. Use the acetone wipe test for better confidence. For critical applications, invest in a Barcol hardness tester. Accurate testing saves you from premature failures. It ensures your part delivers the performance you expect.
Tips for Optimal Curing Results
Your workspace conditions and mixing habits determine whether the vinyl ester resin reaches its full potential. Small adjustments make a big difference in the final strength and durability of your part.
Controlling Your Work Environment
Temperature and humidity control your cure timeline more than any other factor. You want a consistent workspace temperature between 65°F and 85°F. The sweet spot sits around 75°F. At this range, the resin cures predictably without surprises. Humidity matters just as much. Keep it below 60 percent. High moisture in the air interferes with the chemical reaction and leaves you with a tacky, under-cured surface.
Cooler seasons present a challenge. A small space heater can help you maintain the right temperature. Use it wisely:
Keep the workspace between 70°F and 80°F, ideally at 75°F.
Position the heater so it warms the room, not the resin directly.
Avoid localized hot spots that cause warping or thermal damage.
Maintain a stable temperature throughout curing. Sudden drops create cloudiness, bubbles, or uneven finishes.
Gentle heat can release surface bubbles, but overdoing it scorches the resin or creates waves on the surface. These signs indicate thermal damage. A dehumidifier helps in damp basements or coastal workshops.
Mixing and Application Best Practices
Accurate catalyst measurement and thorough mixing prevent most cure failures. The MEKP catalyst ratio should fall between 1.25 and 1.75 percent by volume. Follow these steps:
Measure the catalyst carefully using a graduated cup or syringe.
Add the catalyst to the resin and stir with a clean stick for at least one full minute.
Scrape the sides and bottom of the container during mixing to ensure uniform distribution.
Poor mixing leaves weak zones that fail prematurely. Excess initiator increases shrinkage, brittleness, and cracking. You cannot fix these problems after the resin hardens.
Apply the resin in thin layers, ideally 1/8 inch or less. Thick layers generate excessive exothermic heat. This heat speeds up curing but risks warping and internal stress. Build thicker parts in multiple layers.
Rule Composite offers different grades for specific needs. INV-V411 works well for corrosion-resistant equipment. INV-V416 suits rapid pultrusion. INV-V440 provides low shrinkage for molds. Each grade has a slightly different cure profile, so check the technical data sheet before you start.
Vinyl ester resin usually reaches full cure within 24 to 48 hours at room temperature. Temperature, humidity, and catalyst amount can shift this timeline. Always test the part before service. This step matters most for boat hulls or wind turbine blades. A simple thumbnail test or acetone wipe check prevents failures.
When in doubt, give it an extra day. Patience pays off in durability and performance.
Share your experiences or ask questions in the comments. Rule Composite offers multiple vinyl ester resin grades for different project needs. Each grade provides unique properties for your application.
FAQ
Can I use vinyl ester resin in cold weather?
You can, but the cure slows significantly. Below 60°F, the reaction nearly stalls. You might wait longer than 48 hours. The final strength may suffer too. Warm your workspace with a space heater. Keep the temperature between 65°F and 85°F for best results.
What happens if I add too much catalyst?
Too much catalyst causes a flash cure. The resin hardens rapidly and generates excessive heat. This heat makes the material brittle and prone to cracking. The part may look fine but fail under load. Always measure catalyst precisely using a digital scale.
How do I know when the resin is fully cured?
Press your fingernail into the surface. If it leaves a mark, the resin needs more time. You can also wipe acetone on a small area. If the surface softens or becomes tacky, curing is incomplete. For industrial work, use a Barcol hardness tester.
Why does my resin feel rubbery after two days?
High humidity likely caused this problem. When humidity exceeds 70 percent, water molecules interfere with the curing process. The resin stays soft and under-cured. Keep your workspace below 60 percent humidity. Use a dehumidifier in damp areas to prevent this issue.
Can I sand and paint the part after 24 hours?
You can sand after two to three days. The resin reaches sufficient strength by then. Painting works best after the full 48-hour cure. Do not wait longer than a week. The surface becomes too hard for effective sanding or secondary bonding after that point.